Create an Email Account
Create a mailbox from the hosting control panel for your domain.
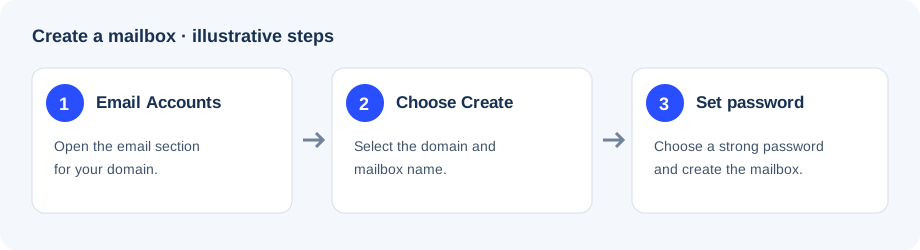
Illustrative flow; labels may differ in your hosting control panel.
Steps
- Sign in to your hosting control panel.
- Open Email Accounts in the email section.
- Select Create.
- Choose the domain if your account manages more than one.
- Enter the mailbox name, such as
alexorsupport. - Set a strong password, or use the password generator. Save it securely; this password is for the mailbox, not the hosting control panel.
- Set a storage quota if prompted. Choose the available option that fits the mailbox’s expected use.
- Select Create to finish.
The full email address is the mailbox name followed by your domain, for example alex@yourdomain.com.
If the domain is not listed
Add the domain to the hosting account first, or ask the account administrator to do so. If the domain’s DNS is managed by another provider, make sure its mail records point to the mail service before testing delivery.
Next, log in to webmail or connect an email app.